
How to create Azure Synapse Analytics Workspace?
Contents
Azure Synapse Analytics Workspace
It is a graphical user interface which allows us to work with all the components of Azure Synapse Analytics from browser. It is known as Synapse Studio. This environment has options to perform data engineering, visualization, and manipulation. Also Users can develop SQL, Spark scripts, integrate, manage, and monitor Azure resources.
Let’s understand few more terms which needs to be selected while creating the Azure synapse analytics workspace.
Resource Group
It packages multiple resources together which makes it easier to manage them. For example, a resource group can have a web app, a blob storage and a synapse studio. All these resources being in the same resource group can be deleted, updated and integrated together.
Account Name
Every Synapse Studio is associated with an Azure Blob Storage Gen2. Account Name is the name of this storage account.
File system name
File System Name is the root directory name or the folder name in the storage account where files will be stored.
Steps to create Azure Synapse Analytics Workspace
- First login to portal.azure.com
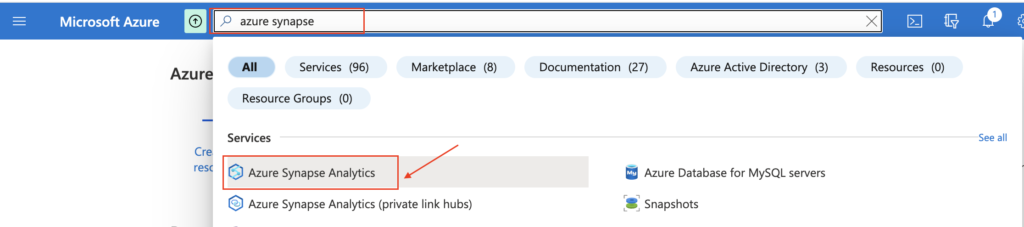
- Next search “Azure Synapse” in the search box and click “Azure Synapse Analytics”
- Now click the create button to configure Azure synapse analytics workspace

Resource group details
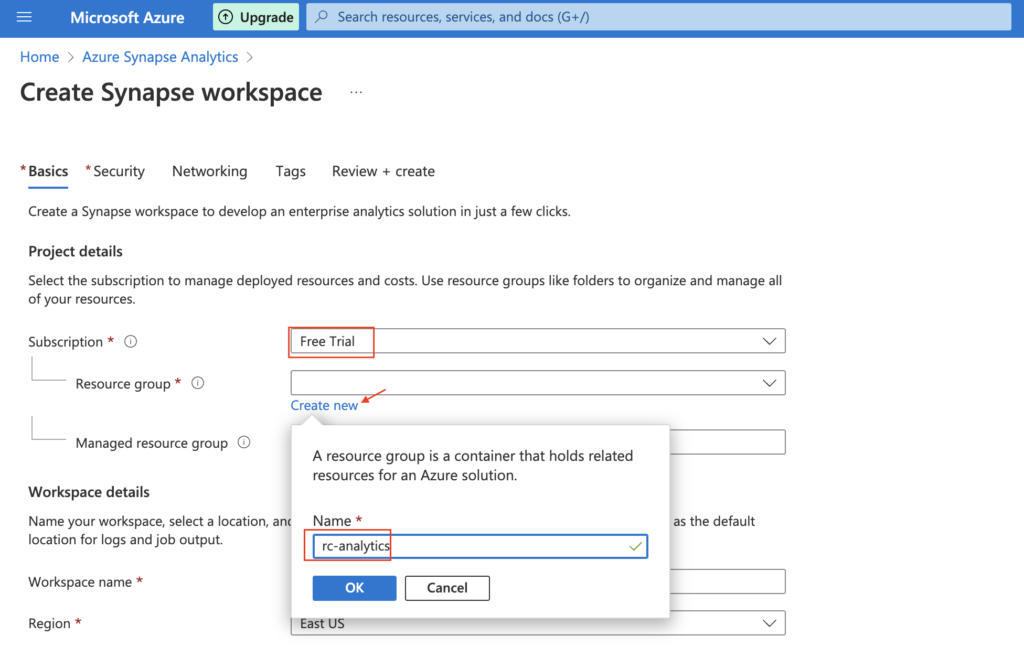
- In Create Synapse workspace page, select subscription plan
- Next field is Resource group. In this, either we need to select the existing Resource group or create new one.
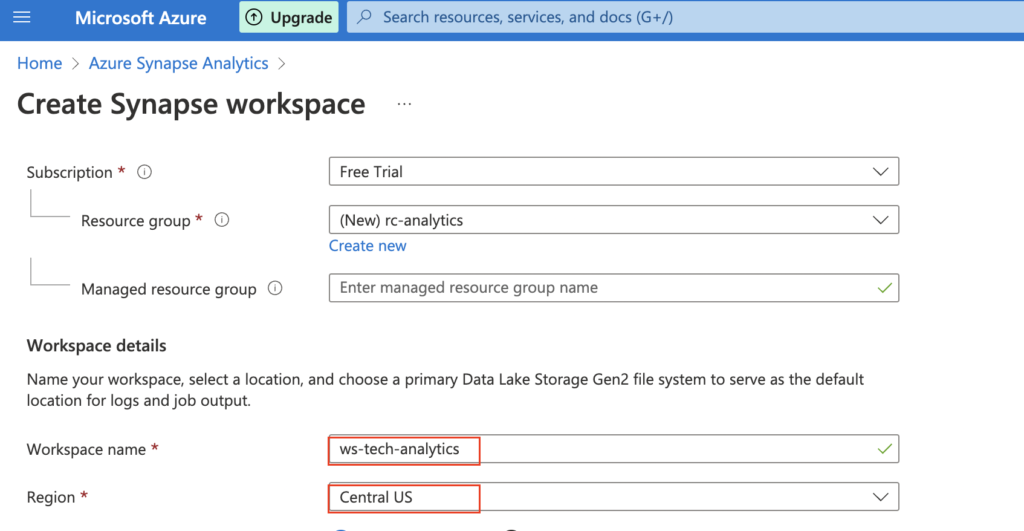
Workspace details
- Next select the workspace details. We have entered the new workspace name as “ws-tech-analytics“. Also we have selected the region as “Central US” .
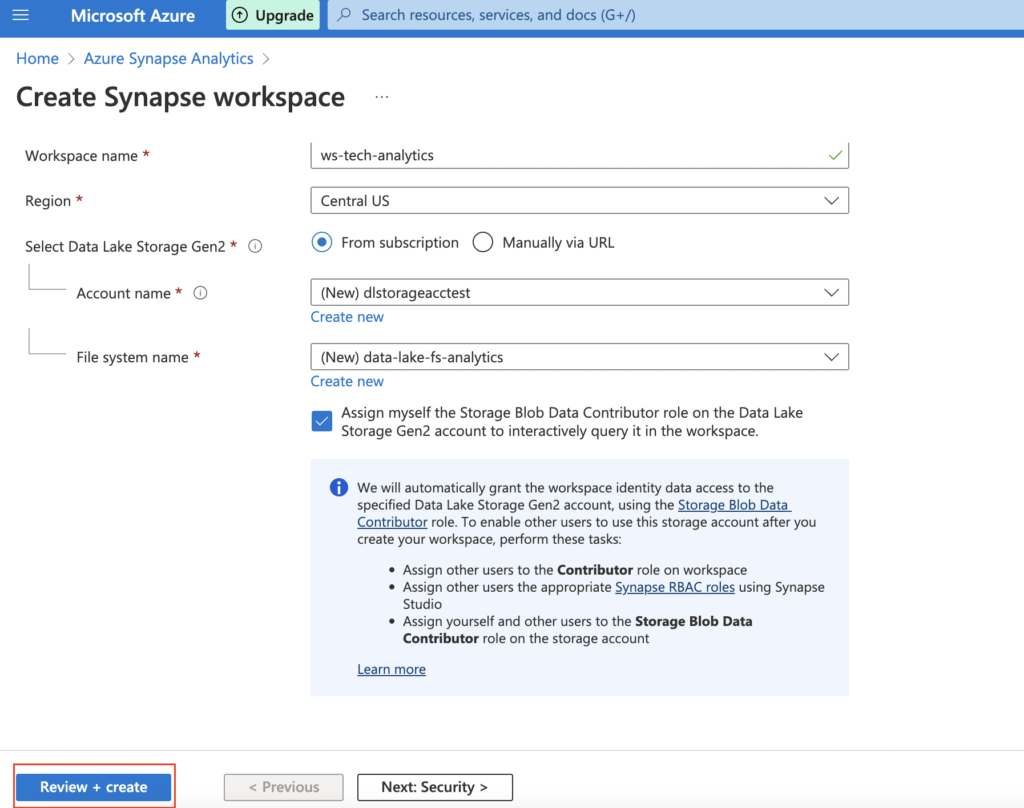
Storage details
- Now we need to select the Data Lake Storage Gen2 details as below. We have created the new account name and File system name. If the existing account details available, we can select the same.

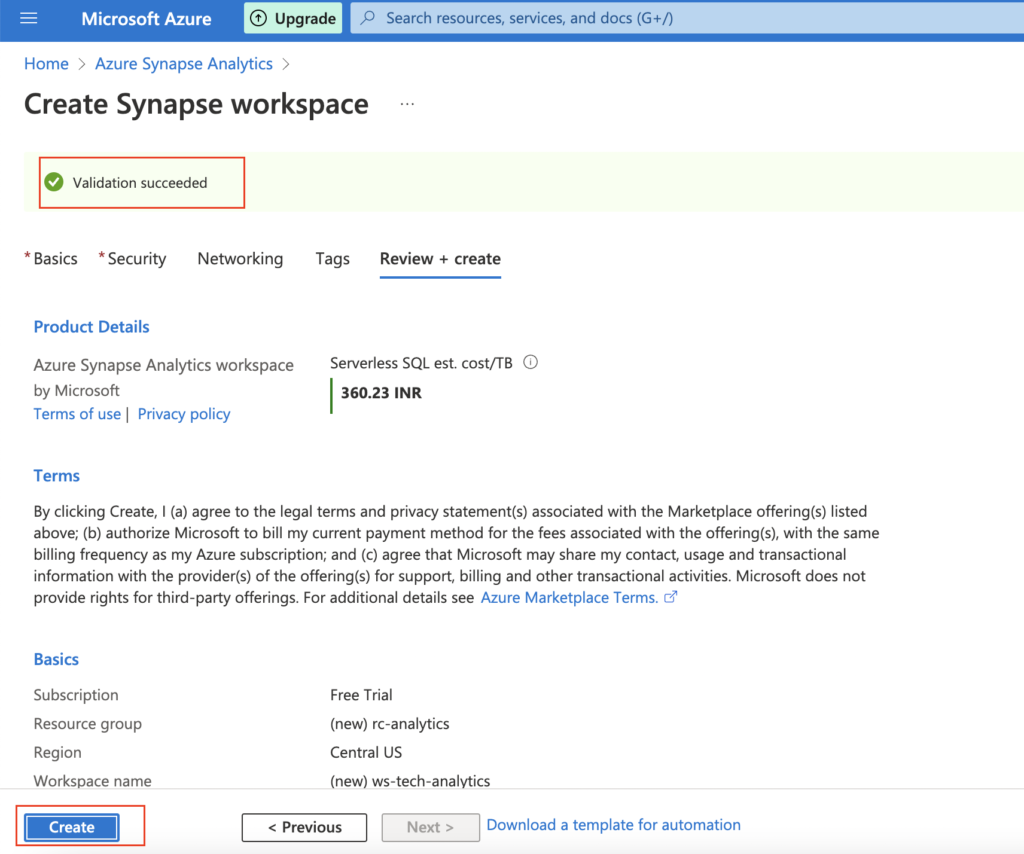
- Now we can click Review+create button to validate the given details
- Once the validation is successful , we can review the cost and other details. Then click the create button to start creating the Azure synapse analytics workspace.
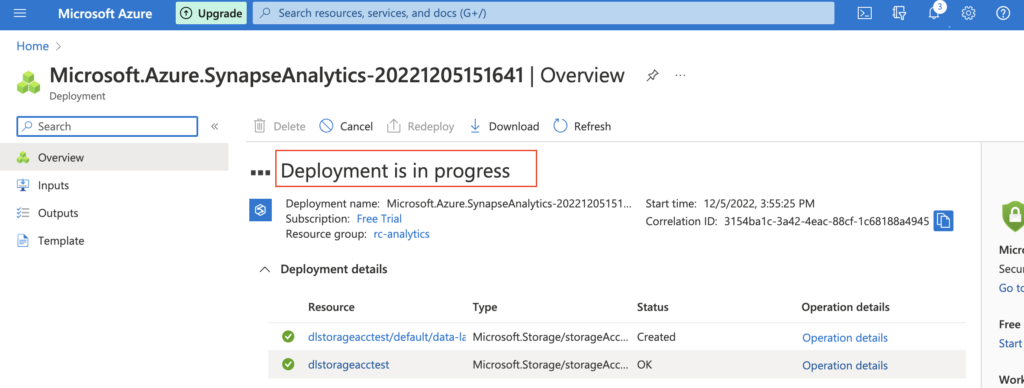
- The creation of workspace takes few minutes. So it will show the Deployment is in progress status as below
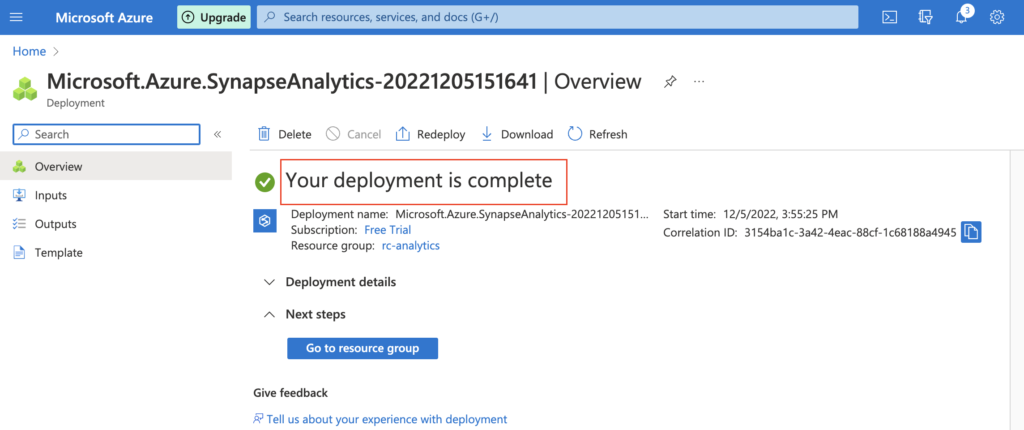
- Finally we could see the success message as “deployment is complete” as below.A Synapse workspace is created in the mentioned resource group.
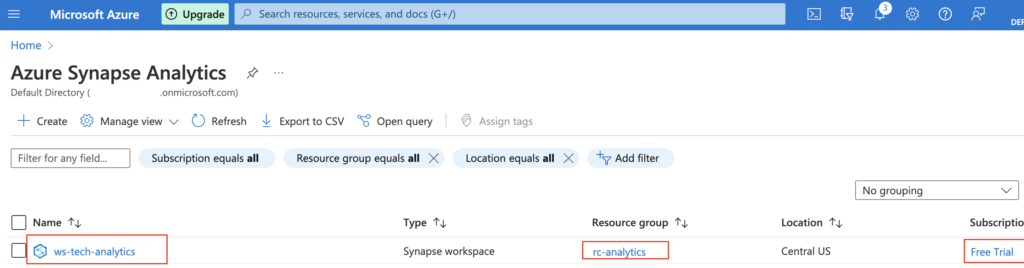
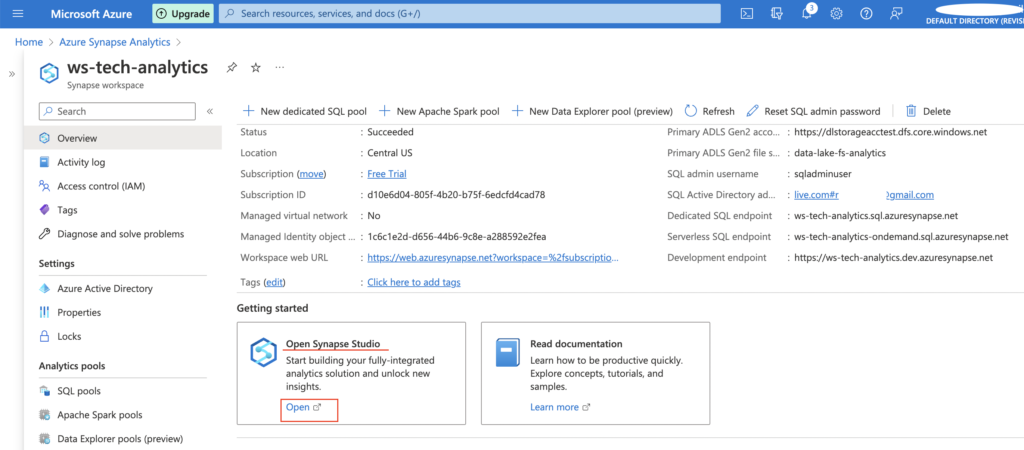
- To enter into the Azure synapse analytics workspace, we need to go to Azure synapse analytics Home page by searching it in search bar. As shown below, we can see our workspace details
Synapse studio
- To enter into Synapse studio, we need to click our workspace name “ws-tech-analytics“. Next click open button as below.
- Once we click the open button , a new tab will be created in a browser with Synapse analytics workspace. As shown below, the left side bar have all the options to create data pipeline, run sql script, monitoring and so on.

Recommended Articles
References